Tuesday, 13 March 2012

Problem with axletree bearing


Since we started running the mill this season, there has been a loud clicking, creaking or clunking noise from the main gears. It seemed to occur about once for every turn of the spur wheel.

Today Richard decided to firm up the wedges holding the pit wheel on the axletree (main shaft or wheelshaft). However, while he and Ray were doing so, they realised that the noise was actually coming from the end of the main shaft. It seemed that the wood had shrunk away from the cross-shaped metal frame (which might be called a gudgeon, the glossary I have is not quite clear on the subject) which holds the bearing pintle. The "fins" of the gudgeon were therefore able to move in the wood, each revolution making it move once up and then once back the other way - twice per revolution of the pitwheel being once per revolution of the spur wheel.

We hammered some iron and wooden wedges into the spaces, ran the wheel, and found the noise had gone. We will have to keep an eye on the end of the shaft in future.


Meanwhile Bob and George were clearing more of the overgrowth from the cobbles between the mill and the spillway, until George's pressure washer motor burned out. Many of the stones edging the launder platform and the spillway pit are loose and will have to be re-bedded.

There is some evidence that they were originally bedded in sand and cement mortar, rather than the lime mortar we would tend to use in most places.

Tuesday, 6 March 2012

Trash strainer and cleaning


George cleans the steps
Our new man came today for his first day. George brought his own pressure washer, so after we had arranged a lot of hoses and mains connections he set about clearing the green slime from the cobbled path, fences and steps.
The cobbles see the light of day!


He then moved on to clearing all the vegetation off the launder piers so we can repoint them when launder rebuilding time comes. Between us we managed to get most of the green stuff off the cobbles under and beyond the launder, too.


The frame for the new trash strainer

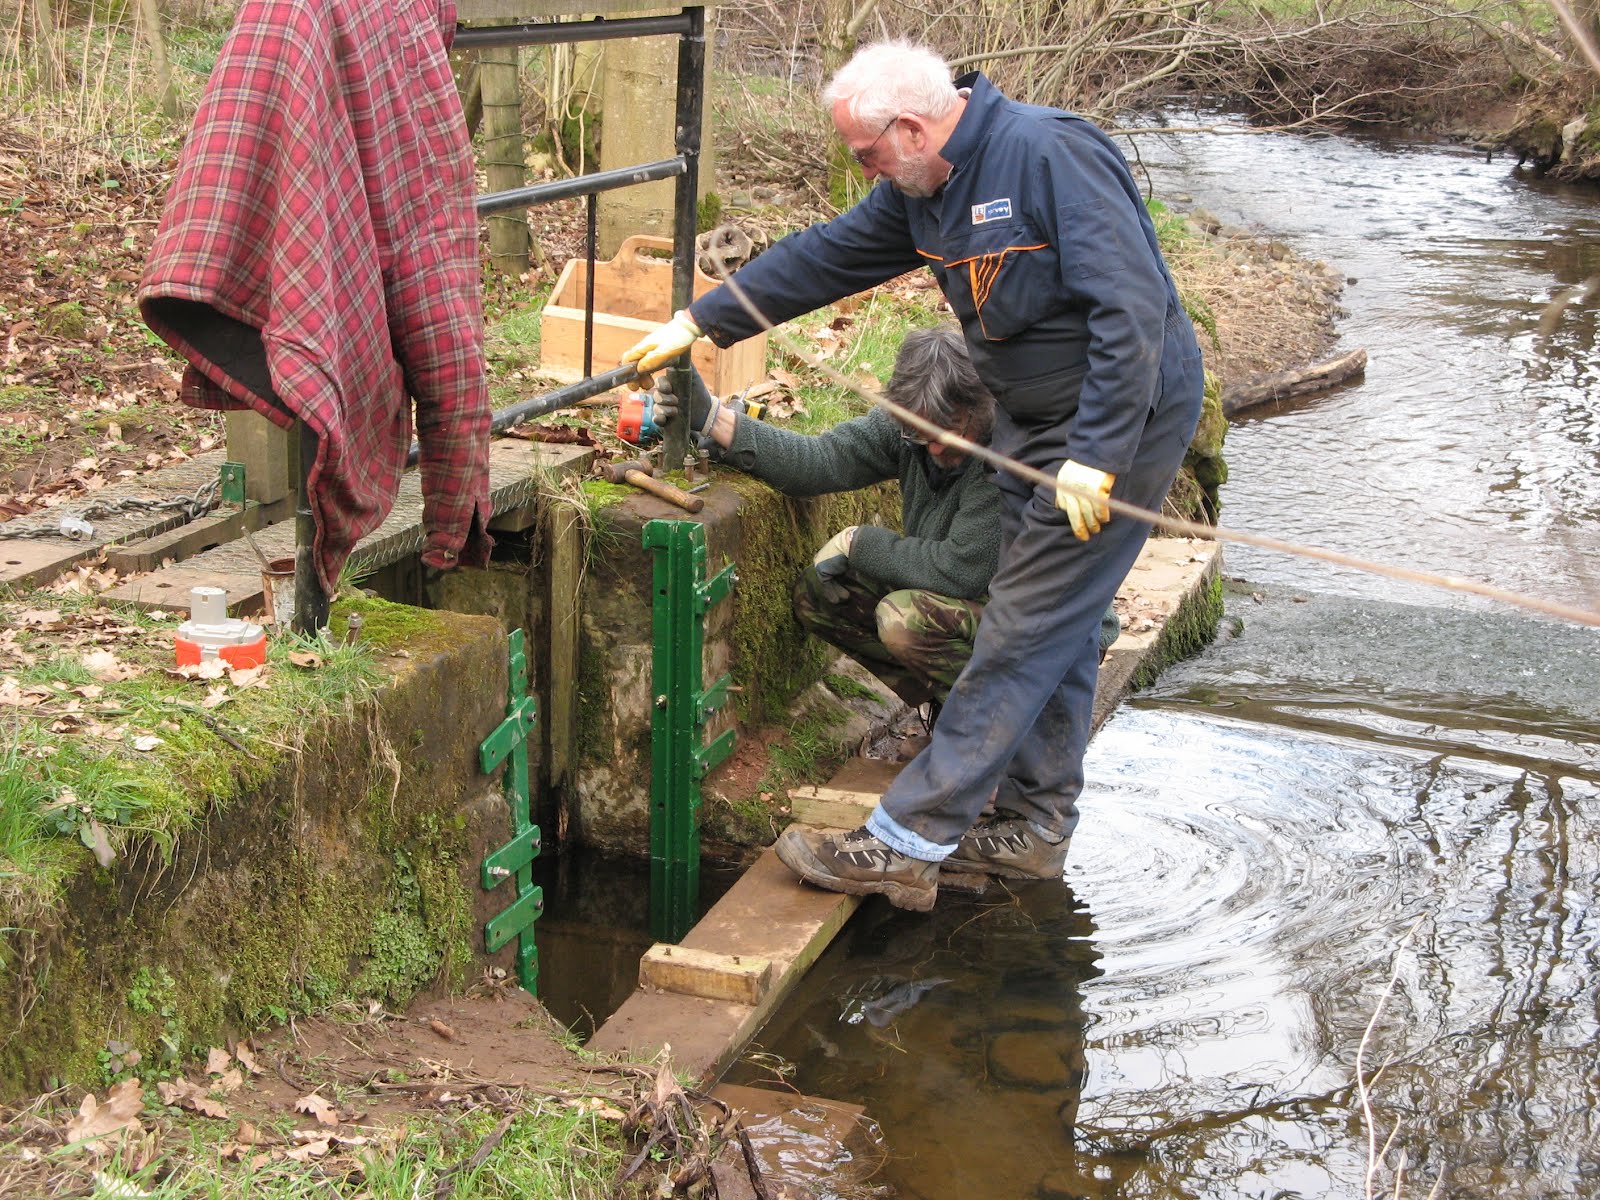
Richard and Ray install the frame

Working in his home workshop, Richard has built the fixed frame in which the weir trash strainer will slide. The frame is welded from mild steel bar, and is to be bolted directly onto the inner surface of the take-off channel, and secured by flat bars bolted to the weir-side face of the stonework.


Last week he and Ray painted it, and today they fixed it to the weir stonework. The hope is that larger items will be carried over the weir by the water flowing across the strainer. The trash strainer measurements are to be taken once the frame is in place.

In the process, they found that the second weir is accessible at this time of year, due to the low vegetation, and also found an old mine truck abandoned in the river bank. It looks as though it had been filled with stones and used to reinforce the bank.


The old quarry wagon

The second weir

Tuesday, 28 February 2012

Repair of the No 2 stone nut (March 2011)

Some more pictures from the past - this time the ones Richard took when the no 2 stone nut was being repaired.

The stone nut has a square central hole which sits on a square taper mounted on the stone spindle. This hole had worn badly with use and would no longer engage properly on the taper. As the stone nut is a historical artefact, it was not acceptable to simply re-metal the edges of the hole. Instead we decided to make two steel plates to sandwich the stone nut and cut accurate squares in each of them. Fortunately the nut has four holes through which we could pass lengths of studding to holdthe whole thing together.


On the bench left to right:
the stone nut, the spindle taper, the two steel discs


The bottom disc is threaded for the studding, because the lifting mechanism pushes it up from below and nuts would be in the way. There are lifting rings that can be attached above the top nuts.

The two discs with bolts.
The discs were cut by a local engineering firm but
close inspection shows the laboriously filed out corners


When all was ready we suspended the assembly from a beam to check the strength of the lifting rings. They were OK!

You can see the wear on the original stone nut surfaces.

Pictures for the sluice repair

When we repaired the main sluice, I didn't have pictures available for much of the work (see blog for June 2010). This brings things up to date by including some pictures from Richard's camera.

The first shows the new sluice valve control assembly
which was fabricated in Richard's garage from steel.


The second shows the control assembly
mounted on the new sluice board.


Richard working in the sluice to fit the new control

Tuesday, 21 February 2012

Overhauling the shelling stone drive

Today we dismantled the drive to the No 1 shelling stone as the first stage in repairing the stone nut to make it run true. At present it is worn, and so will not sit level on its taper, leading to its damaging the cogs on the spur wheel. As we have dismantled this stone before we felt we probably knew what we were doing!

The stone lifted before
removing the rhynd

The first step was to lift the runner stone using a chain block suspended from a beam directly above the centre. We first lifted the tentering beam using a car jack so that we could post a strap from the edge to the eye of the stone. We then used a second, smaller, block to pull the stone back towards the wall. We propped it against the wall, where it was very stable; however we left a chain block attached as a "belt and braces".


The stone nut separately supported


Then we removed the rhynd, bearing top cover plate and bearing bottom adjusting plate and drove the wooden bearings out downwards. We tied the stone nut to screws in the bearing using rope, and fixed another rope between a chain block and the stone spindle.


With the tentering beam fully lowered and the bottom bearing box removed, we were able to lower the stone spindle out of the stone and take it to the workshop, followed by the stone nut. We removed the wedges and took the taper off the spindle. We now need to measure up carefully and have the 2 discs made to sit the stone nut firmly on the taper.

Tuesday, 14 February 2012

Our job list

We need to do the following major tasks:

  • Rebuild most of the launder
  • Re-line the wheel and possibly replace the bucket boards as well
  • Build a grain store
  • Modify the shoe and hopper arrangement to make grain feed more automatic
  • Clear the headrace
  • Build a roof over the cob oven
  • Get Public Health approval for milling flour
  • Buy flour collecting boxes, flour bags and official weighing scales
A lot of these depend either on getting the materials or on Getting Public Health approval.

We would also like to overhaul the stone nut for the No 1 (shelling) stones in the same way as we have already done the No 2.

Some extra pairs of hands would be very useful!

Miscellaneous jobs

Today we did a number of small tasks. The stone nut on the french burrs had dragged its taper up the shaft when we tried to disengage it, so we reset the taper and replaced all its wedges. We also checked and tightened all the other wedges in the main shaft and spur wheel.

When we last milled, we had a problem with grain bouncing off the damsel and going over the stone, thereby missing the milling process and ending up in the finished flour as a toothbreaking nuisance. Today we cut the bottom out of a plastic bucket which is a good fit to the inside of the stone and which should prevent grain from flying over the top of the stone.

We then cleaned and re-attached the damsel and its supporting structure including the shoe, and re-threaded the shoe height adjusting cord.

The foresters have cut down a group of non-native trees (Italian black poplars) with a rather dire effect on our headrace. There are hundreds of small branches in the water; there are thousands more on the banks which we know will end up in the water; worst of all there is a huge pile of branches over the side of the headrace which will prevent us having safe access to clear the debris from the water. I cleared a lot of wood from the water and opened up 10 metres or so of the worst part of the bank. The next part of the bank was covered with branches that were too big for me to tackle. The gardening / wardening staff have agreed to clear them tomorrow.

We had previously made a lead grease box to surround the main waterwheel bearing on the wet side. It has a heavy lid to press the grease onto the shaft. However it had been dropped and bent out of shape, so we cleaned it, hammered it straight and re-applied the grease.

We overhauled and improved the bearings of the two pulleys that carry the dump valve control cord.

We cleaned up one of our half-dozen or so oil lamps so that it might be suitable for display.